Support, Mac Email
Mac Configuration
-
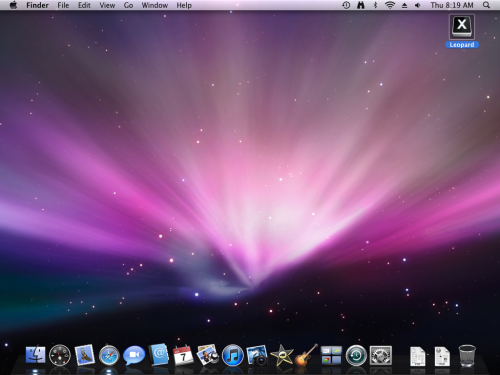
Click on the postage stamp icon in the dock at the bottom of the screen.
-
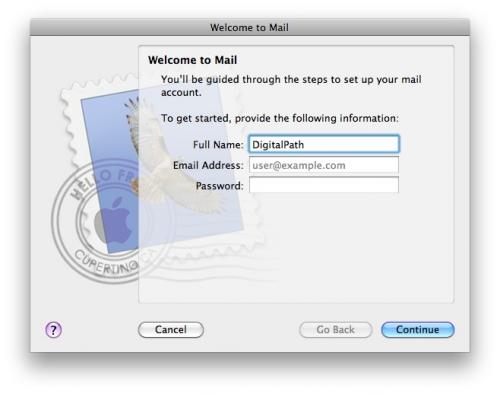
If this is your first time opening Mail on this account, you will see this screen. If so, skip to Step 3.
-
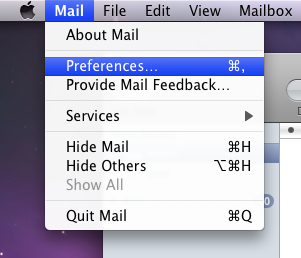
In the top left, click on the "Mail" menu. Click on "Preferences".
-
Preferences should default to the "Accounts" pane. If not, along the top click on @ symbol labeled "Account". In the bottom left of the Accounts pane, click the "+".
-
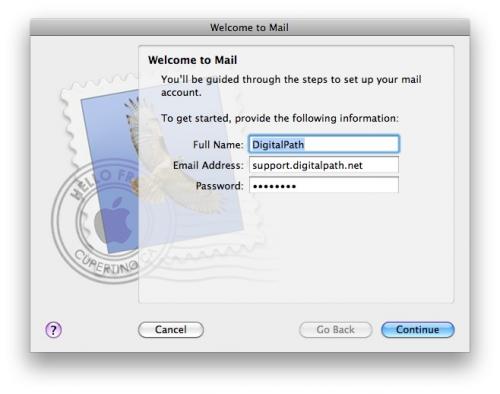
Fill out the field "Full Name:" as you would like your name to appear in your recipients' inboxes. Fill out the "Email Address" and "Password" with your information. Click Continue.
-
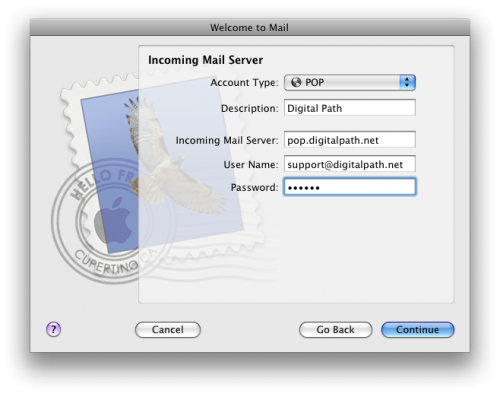
For "Account Type:" select "POP". For Description we recommend putting "Digital Path", but you may put whatever you like to label the account.
-
Next, "Incoming Mail Server" should be set to "pop.digitalpath.net".
- The user name will be your complete email address. Click Continue.
-
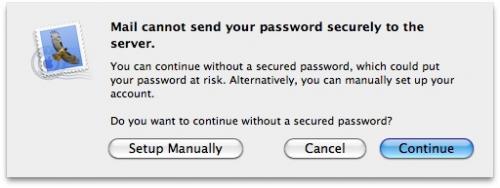
A message will pop up that "Mail cannot send your password securely to the server." Click Continue.
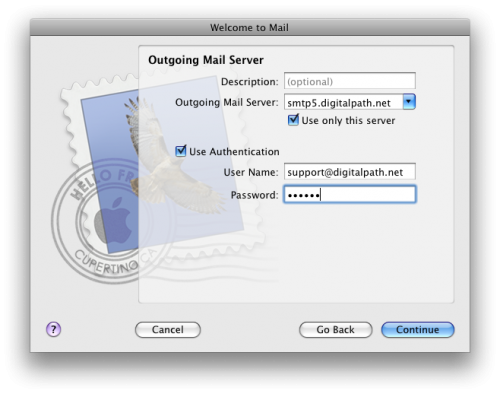
- Leave the "Description:" blank. In the blank right of "Outgoing Mail Server:" type in "smtp5.digitalpath.net". Make sure the box below, labeled "Use only this server," is checked. Check the box "Use Authentication". Make sure you enter your full email address as the user name. After you put in your password, click Continue.
-
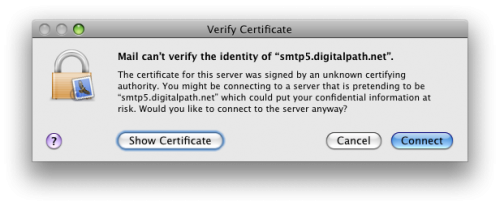
A window will pop up to have you verify our certificate. Click Connect.
-
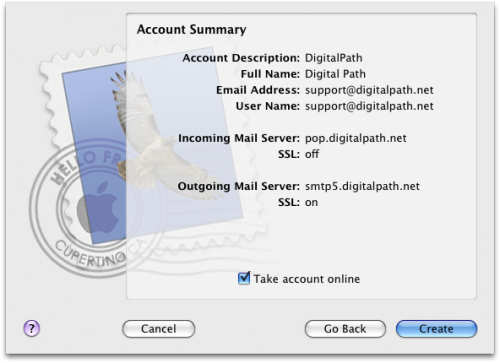
The Account Summary will be displayed. It should look like this, except the email addresses will be the information you entered. Click Create and you should be able to start sending and receiving email!